WooCommerce
Install Chatbot
Follow these steps to install the chatbot widget on your WordPress/WooCommerce site using the WP Code plugin.
Install and activate WP Code plugin
In your WordPress admin dashboard, go to Plugins → Add Plugin. Search for "WP Code" and install the plugin. Once installed, click "Activate".
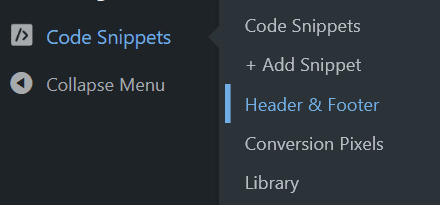
Navigate to Header & Footer section
After activating WP Code, go to Code Snippets → Header & Footer in your WordPress admin menu.
Add code to the head section
Copy the head snippet below and paste it into the Header box.
<script
  async
  type="text/javascript"
  src="https://litetalk.ai/embed/chat.js"
></script>
Add code to the body section
Copy the body snippet below and paste it into the Body box.
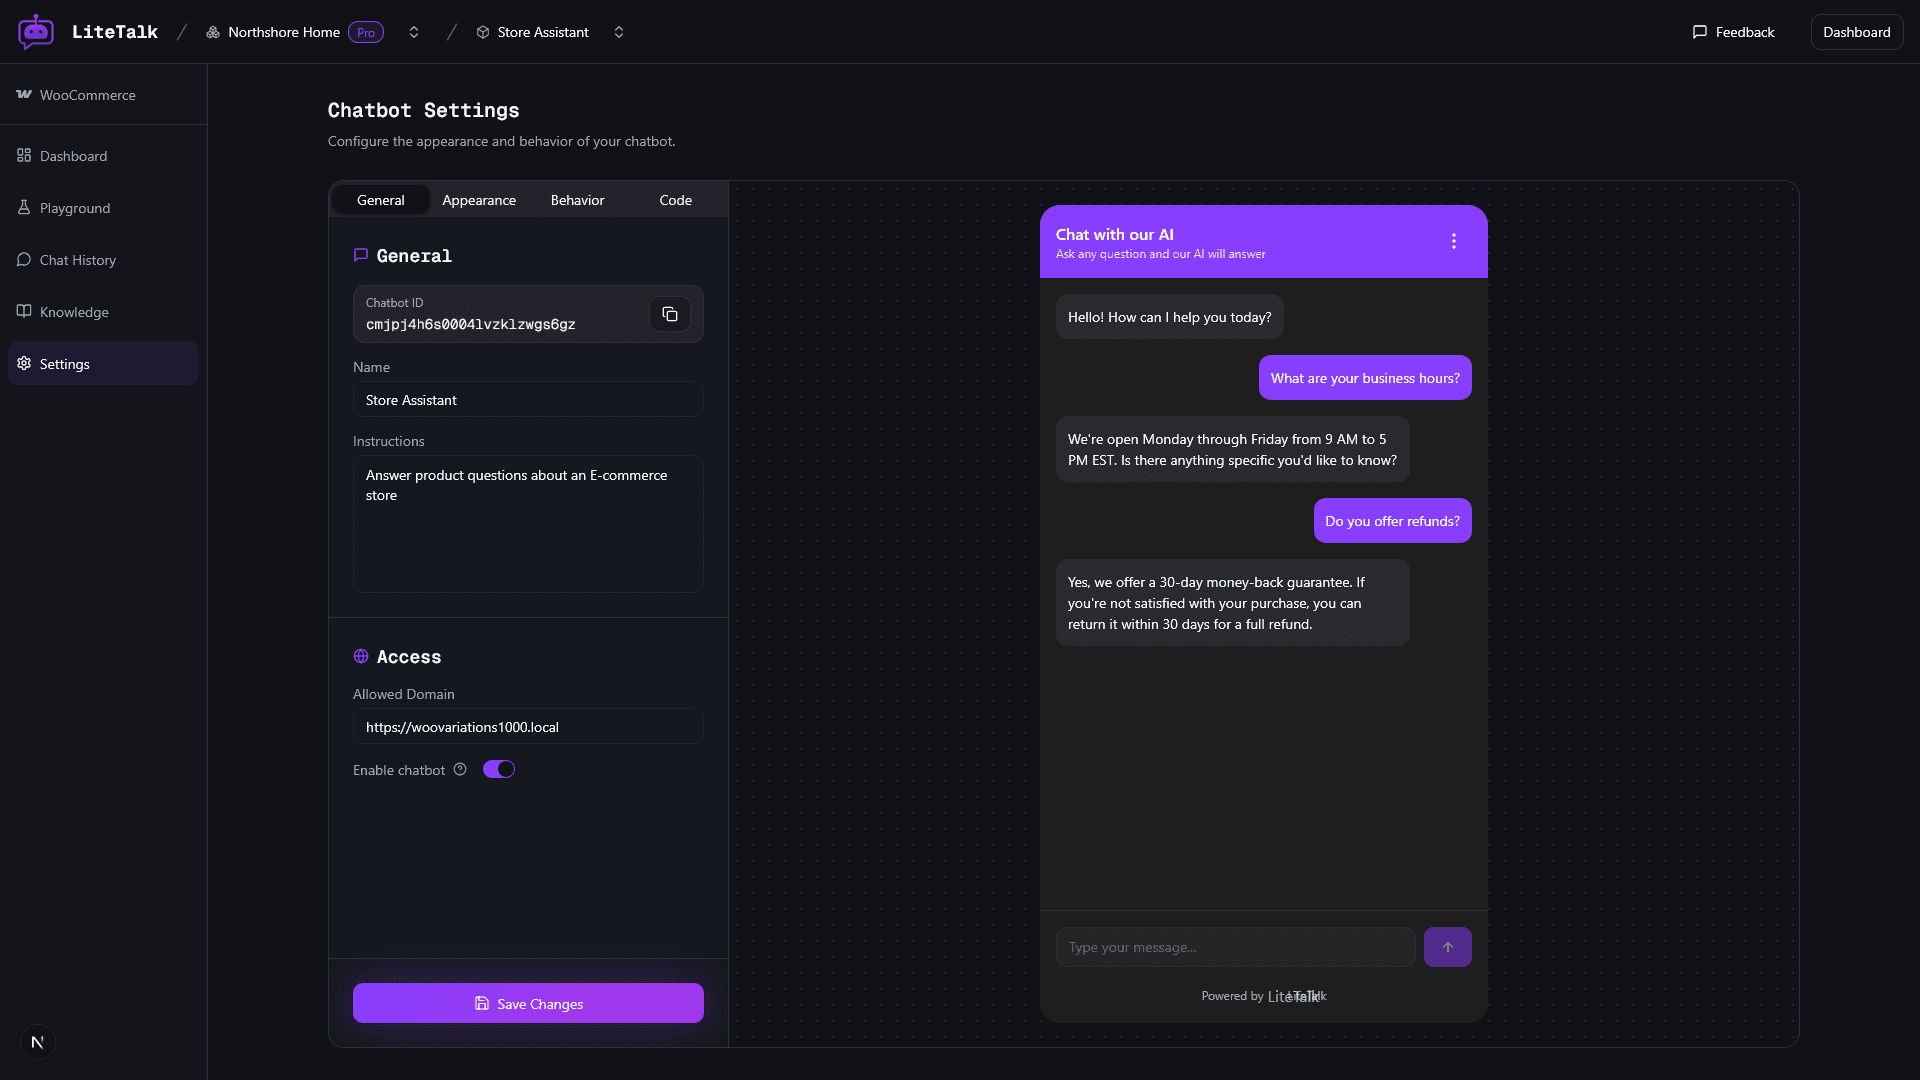
<lite-talk chatbotid="YOUR_CHATBOT_ID"></lite-talk>Note: You can find your chatbot ID by navigating to Settings → General.
Save and verify
Click "Save Changes" and visit your store. The chatbot widget should appear in the bottom-right corner of your site.