Settings
Configure your chatbot's appearance, behavior, and access settings.
The Chatbot Settings page allows you to customize every aspect of your chatbot's appearance and behavior. You can access it from your chatbot's dashboard by navigating to Settings.
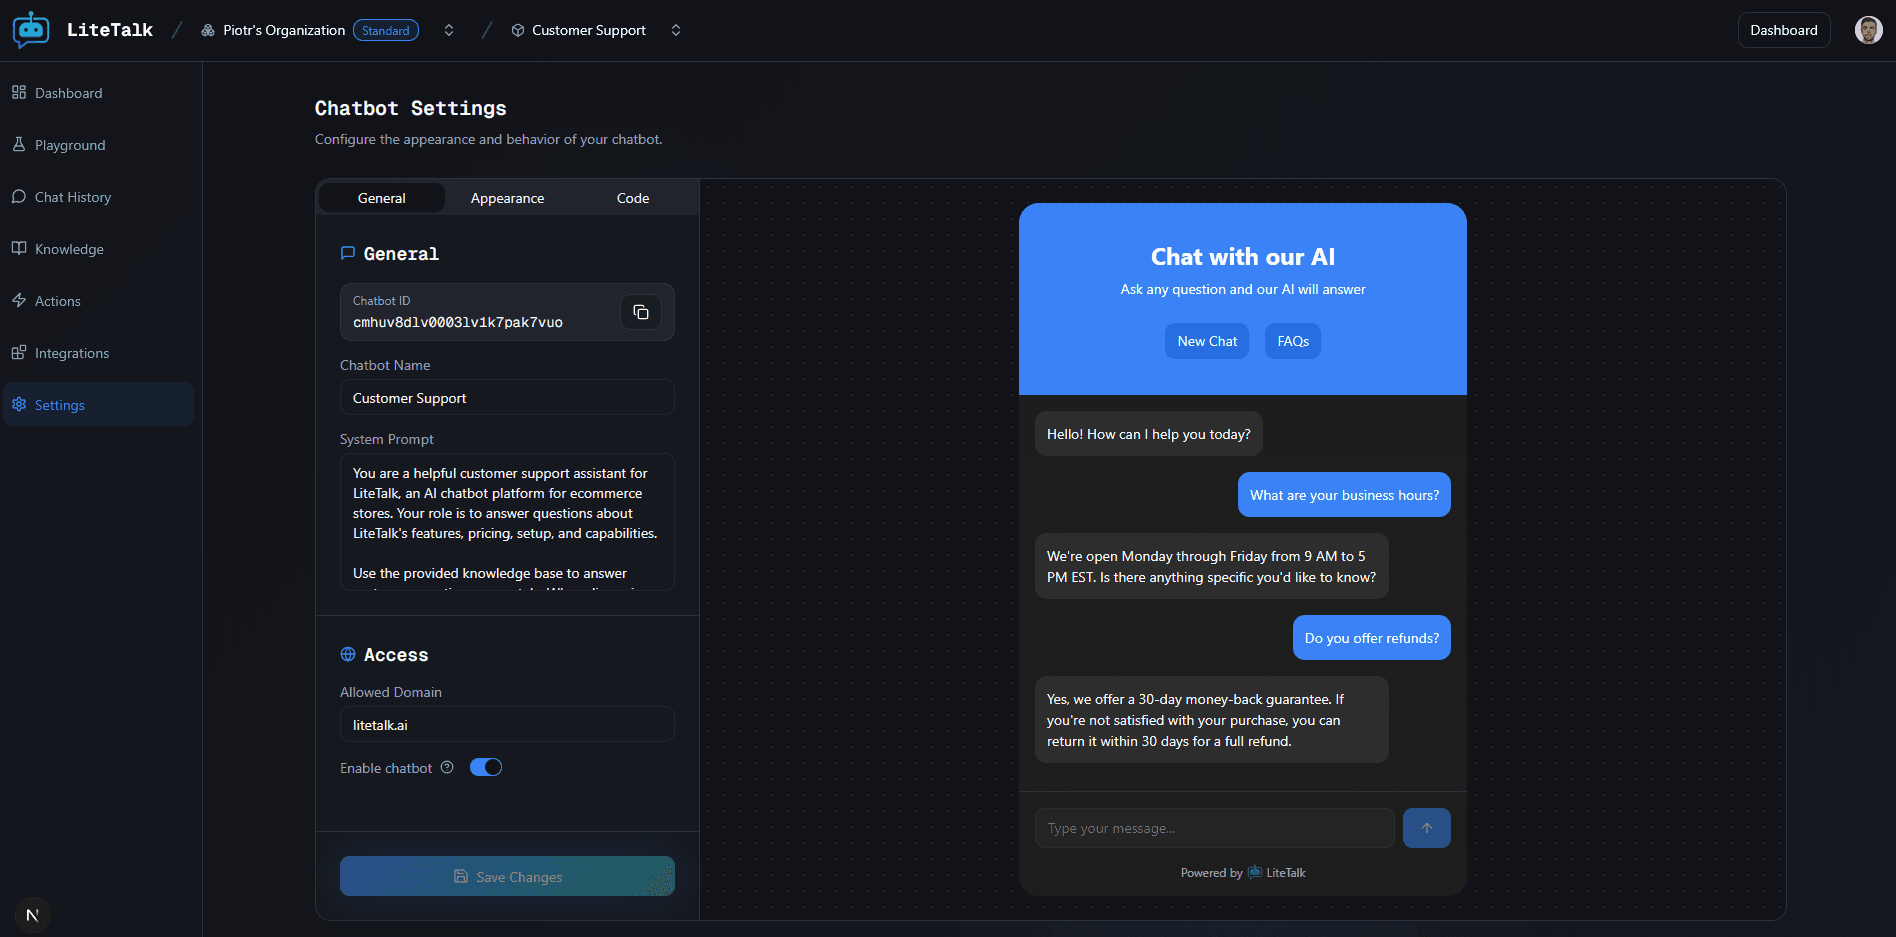
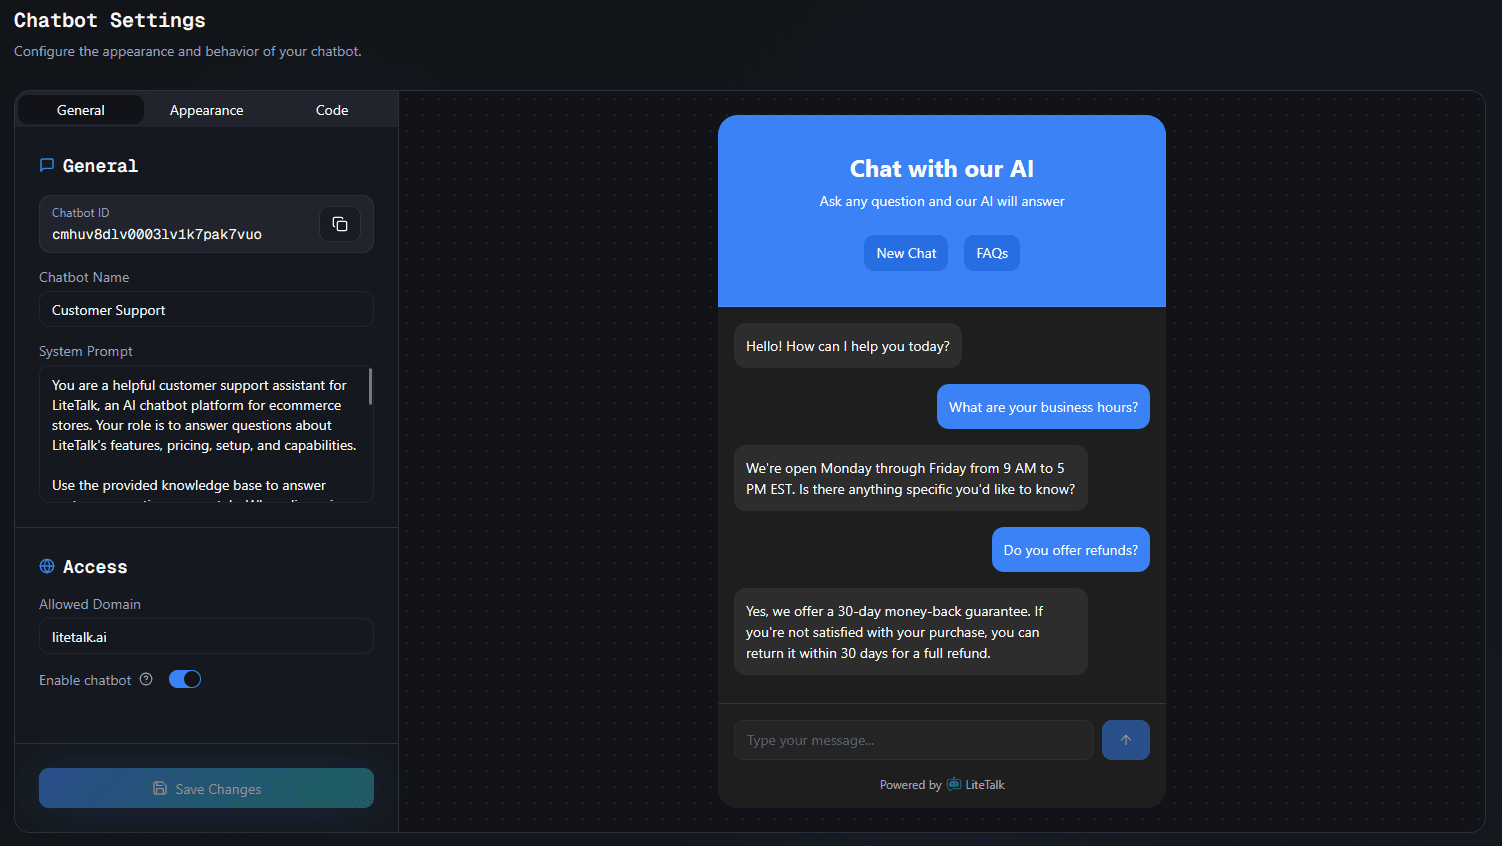
The settings page is organized into three main tabs: General, Appearance, and Code. A live preview on the right side shows how your chatbot will look with the current settings.
General Settings
The General tab contains essential chatbot configuration:
Chatbot Information
-
Chatbot ID - A unique identifier for your chatbot. You can copy this ID to use in your code.
-
Chatbot Name - The internal name for your chatbot (for your reference only, not shown to users)
-
System Prompt - The instructions that define how your chatbot behaves. This is crucial for determining the chatbot's personality and response style.
Access Control
-
Allowed Domain - Restrict your chatbot to only work on specific domains. Leave empty to allow all domains.
-
Enable Chatbot - Toggle to enable or disable your chatbot. When disabled, the chatbot won't appear on your website.
Note: Changes in the General tab are saved automatically when you click "Save Changes".
Appearance Settings
The Appearance tab lets you customize how your chatbot looks and feels:
Appearance Options
-
Theme - Choose between Light or Dark theme
-
Primary Color - Set your brand color using a hex code (e.g.,
#FF0000). This color is used for buttons and accents. -
Chat Orientation - Choose Left or Right for the launcher button position
-
Show LiteTalk Branding - Toggle to show or hide LiteTalk branding (available for Pro users)
Message Customization
Customize all the text that appears in your chatbot:
-
Headline - The main title shown in the chat window (max 25 characters)
-
Description - Subtitle or description text below the headline (max 50 characters)
-
Welcome Message - The first message visitors see when they open the chat
-
Input Placeholder - Placeholder text for the message input field (max 25 characters)
-
New Chat Button - Text for the "New Chat" button (max 20 characters)
-
FAQ Button - Text for the FAQ button (max 20 characters)
-
Tooltip Text - Custom text for the tooltip bubble that appears above the chat button (max 100 characters)
-
Enable Tooltip - Toggle to show or hide the tooltip bubble
Note: Changes in the Appearance tab are saved automatically when you click "Save Changes". The preview updates in real-time as you make changes.
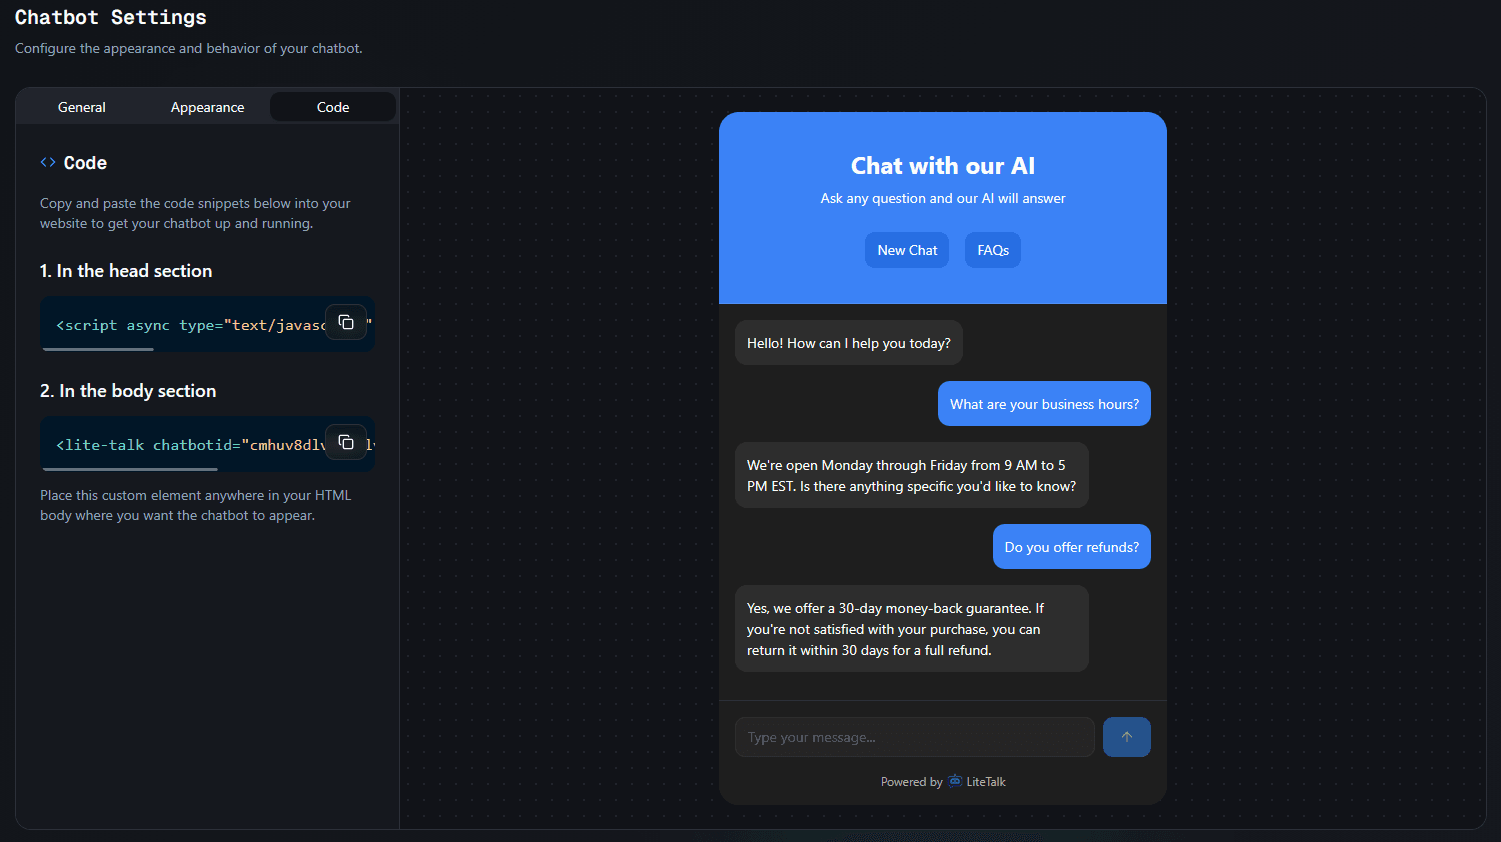
Code Tab
The Code tab provides the code snippets you need to embed your chatbot on your website:
Embedding Your Chatbot
-
Head Section Code - Copy the script tag and add it to your HTML
<head>section -
Body Section Code - Copy the custom element code and place it anywhere in your HTML
<body>where you want the chatbot to appear
The code snippets are automatically generated with your chatbot's ID and current settings.
Best Practices
-
System Prompt - Be specific about your chatbot's purpose and tone. Clear instructions lead to better responses.
-
Brand Colors - Use your brand's primary color for consistency across your website.
-
Text Length - Keep text concise and within character limits for the best user experience.
-
Preview First - Always check the live preview before saving to ensure everything looks correct.
-
Test After Changes - After making changes, test your chatbot on your website to verify everything works as expected.
Troubleshooting
Changes not saving?
- Make sure you've clicked the "Save Changes" button
- Check that you have the necessary permissions to edit chatbot settings
- Try refreshing the page and making changes again
Preview not updating?
- The preview updates automatically as you type
- If changes aren't showing, try clicking outside the input field
- Refresh the page if the preview seems stuck
Chatbot not appearing on website?
- Check that "Enable Chatbot" is turned on in the General tab
- Verify that your domain matches the "Allowed Domain" setting (if set)
- Ensure you've added the code snippets correctly to your website
- Check the browser console for any errors
Settings reset after refresh?
- Settings are saved to the database, so they should persist
- Make sure you clicked "Save Changes" before navigating away
- Check your internet connection if saves are failing